Inset hatches are hard to cover properly
While we Lagooners love our inset hatches, because we don’t stub our toes walking on or around them, making a hatch cover pattern that works wasn’t easy. I looked at the ideas on the Facebook group “Sewing on Boats”, and then my good friend, Lisa Karsten, helped me figure out what would work best on ENJOY’s hatches. Hatch covers not only help keep your boat cooler, they protect the hatch material with the added bonus of a pleasant filtered color inside the boat.

Materials
- 46″ wide Sunbrella Heather Beige Marine Grade fabric (bought mine from Sailrite)
- 100′ roll of 1/8″ Marine Grade Shock cord (I bought mine on Amazon SGT Knots here)
- Sunbrella Acrylic Bias Binding Tape Heather Beige 3/4″ (bought from Sailrite here)
Instructions
- I planned for 3″ strips for elastic edge folded into 1.5″ strips, and a seam allowance of 3/8″.
- Either on paper or on-line, lay out your square and strip cuts to maximize fabric before cutting. (I used Visio to visualize how best to use my fabric)
- After you cut the squares out with your hot knife, find a 7″ bowl for the curves. They all use the same curve, including the air vents!
- Cut the curves
- Trick: if you don’t like to tape, and don’t have an iron, use a compact curling iron to fold the 3″ strips in half longways, and remember to cut and fold over the edges
- Plan that some strips will be pieced to maximize use of fabric, and that you’ll be cutting the strips to have 2 for each hatch
- 1 strip will be from the edge of one hinge mark to the middle of the 3rd side
- 1 shorter strip will be from the edge of the other hinge mark to the middle of the 3rd side
- Tricky part:
- Look at your squares and make sure the warp or weft (not sure the right word) is facing either vertical or horizontal
- Take the squares, and put a mark in the middle of one, and measure out the Hinge Gap and mark it on both sides
- Then, mark 1/2 way down one of the sides, for where the short strip will end so your knot of both bungees are on the side of the cover
- You might alternate sides where the bungee knot is tied for one side of the boat versus the other to make sure the gap where the knot is located is in shade (I know, a bit a&*l)
- Start sewing the strips at the start of one hinge gap
- Put a big knot in the bungee cord so you don’t lose the end, and sew the strips with the bungee inside. Leave a long length of bungee before you start sewing for the short strip
- Do one for each size and iterate. You may wish to change things up as you go.
- Good luck!
Measurements
Buyer beware: You’ll find the length of the Long 3″ strip is probably off by even up to 4″ inches so do one and then you’ll know for the others how short to cut it trim as you go.
| Lewmar 10 (Q 6) | Lewmar 40 (Q 4) | Lewmar 60 (Q 5) | |
| Cover size | 13 3/4″ | 21 1/4″ | 23 3/4″ |
| Long 3″ strip, fold over 1/4 edge | 33″ | 49″ | 59″ |
| Short 3″ length, fold over 1/4 edge | 7 1/2″ | 11 1/2″ | 12 1/2″ |
| Hinge gap | 8″ | 16″ | 18″ |
Hinge view


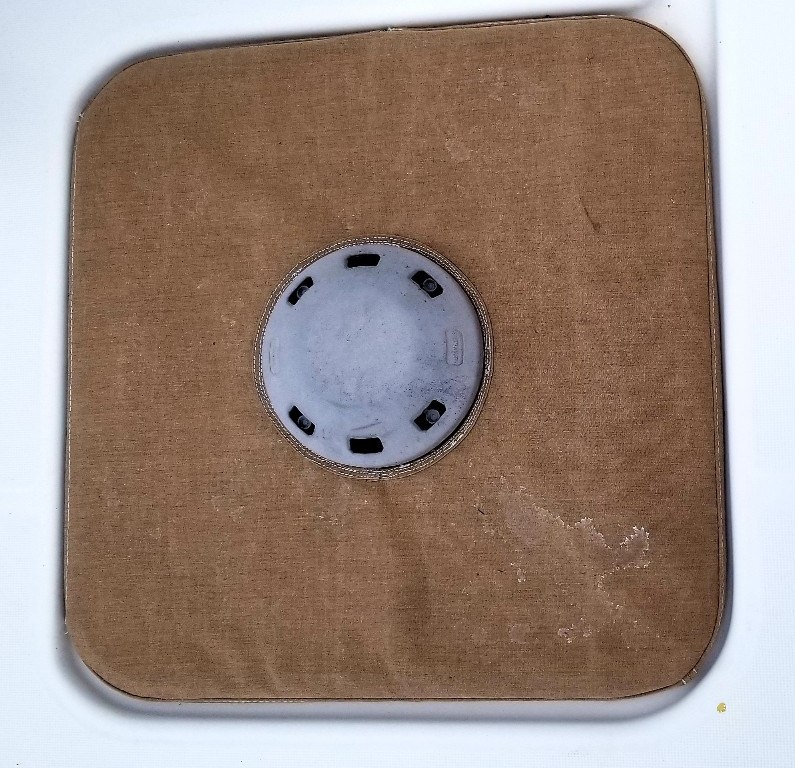
Finished covers


Captain Nez mystery series plug
Click on any of the social media icons below to Follow my progress on the Captain Nez mystery series.
And, if you wish a free copy of the first Captain Nez book, sign up here!
I’d love you to join me on my path to become a mystery writer.